
Making payments
1 Jun 2020
Set up scheduled payments
Learn how to schedule recurring future dated payments.
Step 1 of 13
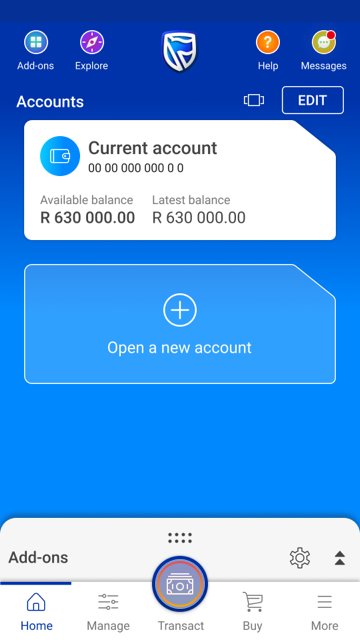
To begin, go to your home screen and select Transact.
Step 2 of 13
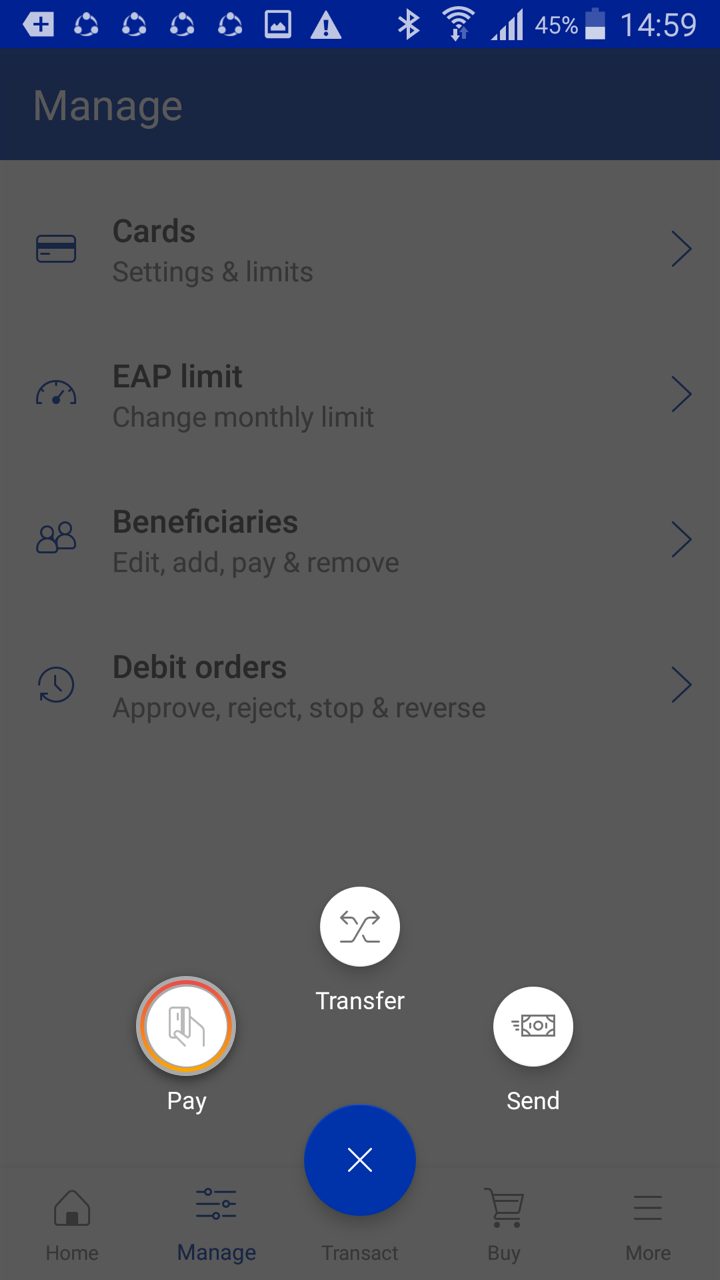
Select Pay.
Step 3 of 13
Find the beneficiary you want to make repeat payments to. Select PAY next to the beneficiary name.

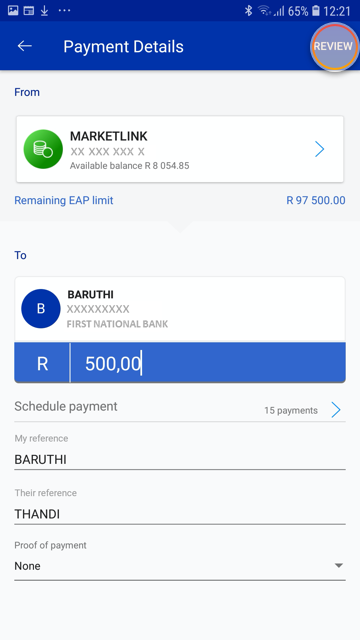
Step 4 of 13
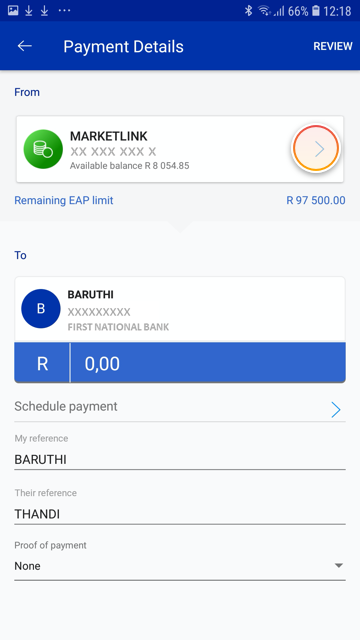
On the Payment Details screen select the account from which you want to pay from.
Step 5 of 13
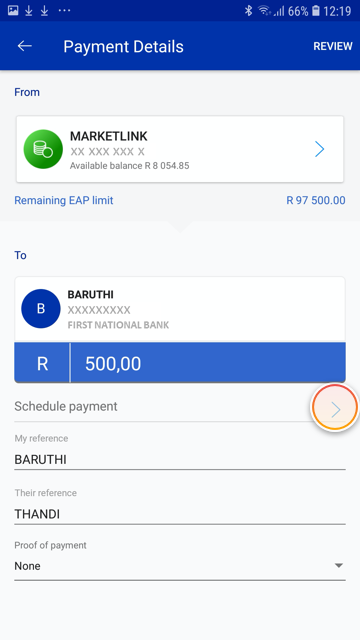
Select the amount field and enter the amount you want to pay.
Then select Schedule Payment.
Step 6 of 13
To start the schedule payment setup, toggle the schedule this payment switch to the right.

Step 7 of 13
Then select the How often option, and select the frequency of your repeat payment from the options provided.

Step 8 of 13
Now select the Number of payments you want to make.
You will be guided by how many you are allowed to create.

Step 9 of 13
Then select the First payment date and set your date of first payment.

Step 10 of 13
Select DONE to proceed to the next step.

Step 11 of 13
You are returned to the Payment Details screen. The number of scheduled payments will be displayed.
Complete the rest of the input fields as you require, then select REVIEW.
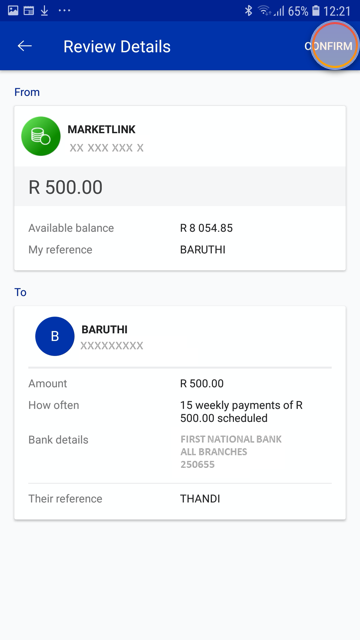
Step 12 of 13
Check all the details are correct. Then when you are ready send the payment select CONFIRM.
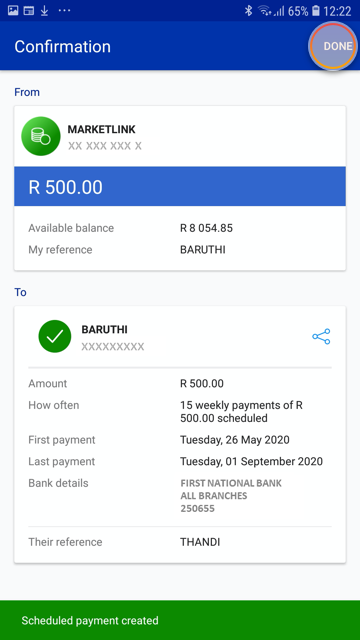
Step 13 of 13
All done! Your scheduled payment has been successfully created.
Frequently asked questions about scheduled payments
What is a scheduled payment?
A scheduled payment is a convenient way to setup a single future-dated payment or a series of recurring payments.
This is the same as a standing order, except that you can add, amend and delete your scheduled payments anytime on the app.
This is the same as a standing order, except that you can add, amend and delete your scheduled payments anytime on the app.
Can I add my own stop order or scheduled payment?
Yes, you can add a new scheduled payment as and when you like.
More things you can do on the app

Keeping your money safe
1 Oct 2021
Reverse a debit order
See how to reverse recent debit orders for amounts less than R3 000.

Making payments
30 Sep 2020
Send a proof of payment
Need a proof of payment? Download or send one directly from your transaction history.

Making payments
16 Mar 2020
Make an immediate payment
Learn how to make an immediate payment to a beneficiary in a few easy steps.